
Manually booking clients into a single event via the register
Introduction
Whilst reserVie is mainly aimed at allowing clients to book themselves into a class, it is also possible for the administrator to add clients via the ‘register’
Register booking support the following payment types:
Cash - when this is selected, reserVie assumes you have been paid in cash. However, this is equally suitable for BACs, cheque or any other external mode of payment.
Pass - if a client has a pass, you are able to assign a space using credits that the already have.
Stored credit / debit cards - you can charge cards directly, if authorised to do so via your customer.
Access the register
reserVie allows quick and simple access to the event register via either the ‘course view’ or the ‘week view’. The following example assumes you are accessing via ‘course view’
To create the register via the course view please complete the following steps:
Step 1: Log in to your reservie account
To log into your reservie account click https://go.reservie.net/
Step 2 Access course view
Using the left-hand menu, click ‘Events > Course view’

Step 3. Find event
Tip: If you cannot see the event that you are looking for in course view, change the date selection in the top right-hand corner.

Once you have located the event click the ‘info’ button
Step 4: Select the date
In course view, since the view displays the all associated future dates, select the event date and click the ‘view register’ button

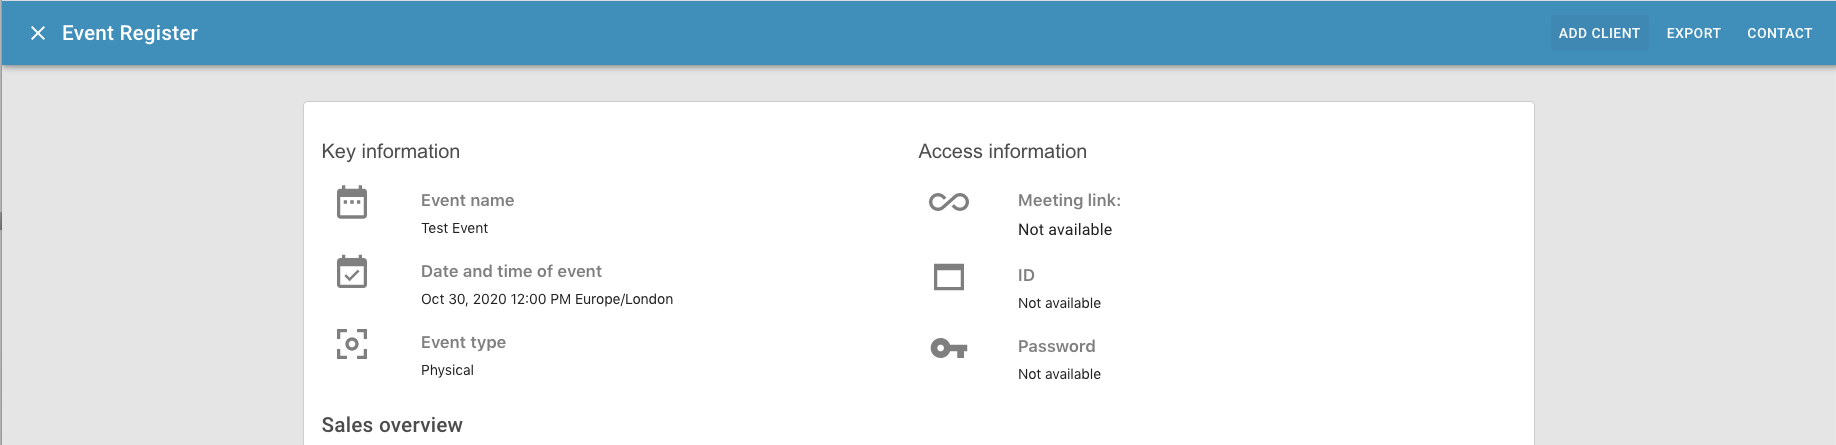
Step 5: View the register
You will now have access to the register. This allows you to see participants of the event and to contact associated participants.
Step 6: Click add contact
In the top-right hand corner of the screen you will note a ‘Add client’ - click this button
A pop-up will now be displayed, to enable the selection of the customer and their payment details

Step 7: Select the customer, payment type and pricing options
Select the customer in the ‘customer selector’ or start typing their name in the box and the auto-search will locate the client. Once selected, reserVie will asses the client’s payment type and activate the appropriate payment type options.

If the customer is paying by ‘cash’, select the cash option and proceed step 8, below.
If the customer is paying using an existing ‘pass credit’, then select the pass option and proceed to step 8, below.
If the customer is paying using a saved credit / debit card, and they have stored their credit or debit card into their account, you will see the ‘Saved credit or debit card’ card option activate. Next:
Select the ‘Saved credit or Debit card’ option
Choose a card
Proceed to step 8, below

Step 8: Set the pricing option and value.
If you have multiple pricing options, select the associated pricing option and validate the price. By default, the system will use the pricing option values that have been assigned during the setup of the event.
Tip: if you are paying via a stored credit or debit card, the value of the transaction value must be greater or equal to £1, $1, 1 Euro, 1 CHF as appropriate depending upon your base currency.