
One picture, not cropped
You upload one photograph and it is not cropped on the way in. The page shows it as a wide band, and a slider lets you choose which part of it appears.
There is only one upload because the same photograph is shown at different shapes in different places. Choosing a focal point handles that better than asking you for several versions of the same picture.
What works
- Landscape rather than portrait. A tall photograph loses almost everything when it becomes a wide band.
- At least 1200 pixels across.
- Your space, or a class in progress, rather than your logo.
- If there are faces in it, ones near the middle survive the cropping best.
A photograph of the room usually beats a posed one. People are trying to work out whether they would feel comfortable walking in.
Confirming you have permission
Before you can upload anything you have to tick I took this picture, or I have permission to use it. Until it is ticked, the button to choose a picture does nothing.
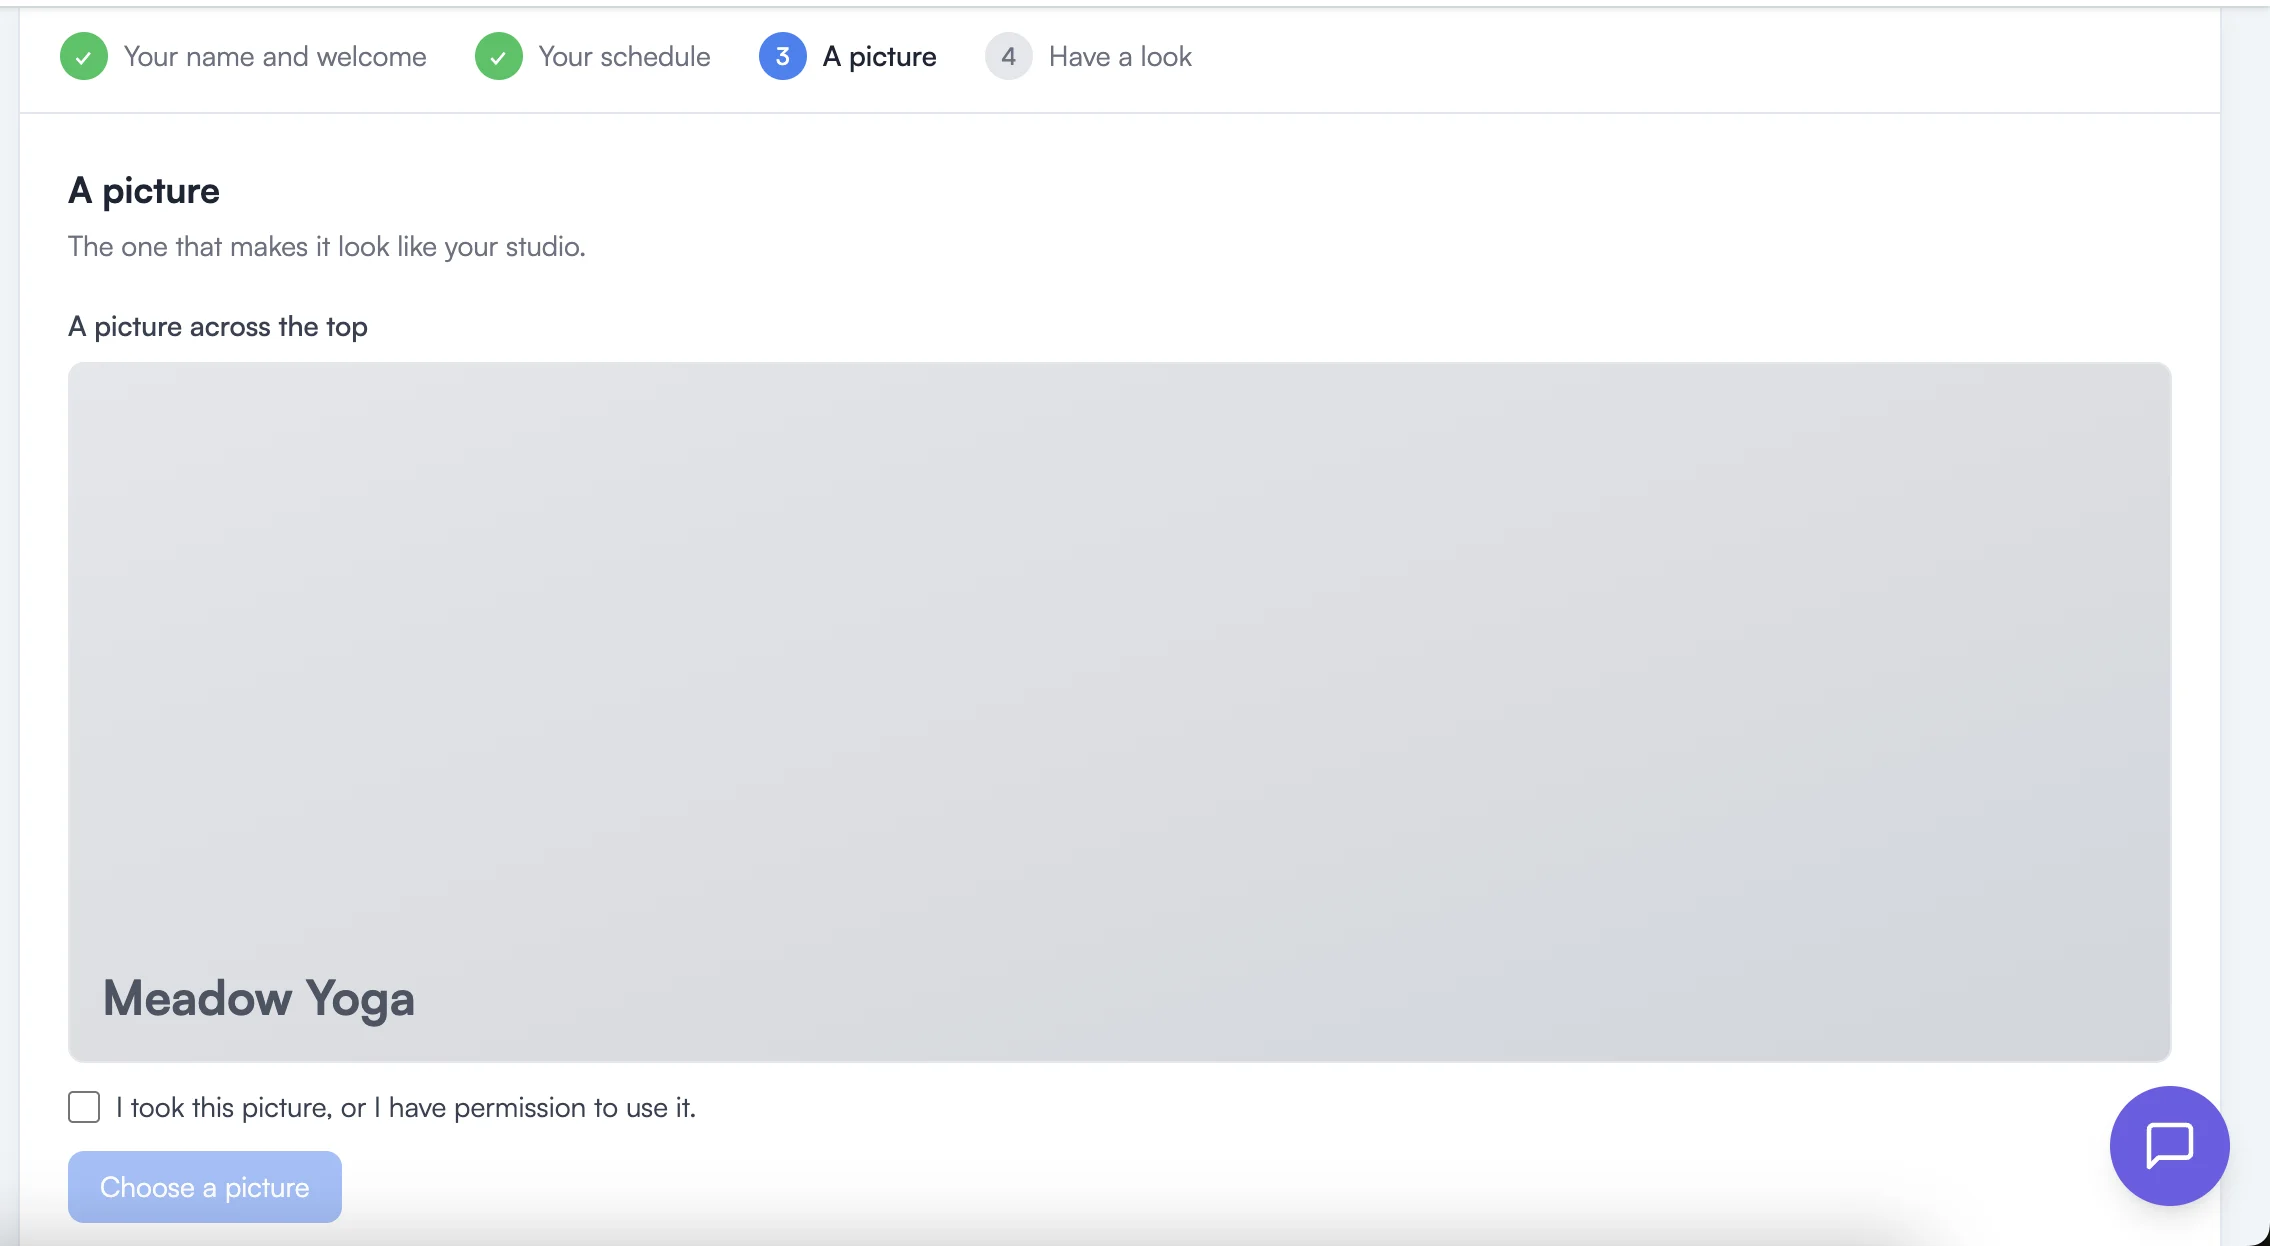
This is not a formality. Your landing page is public and can be found in a search engine, so a photograph you found online is far more likely to be noticed by whoever owns it than one sitting on your own website. Use something you took, something you have bought a licence for, or something you have been given permission to use.
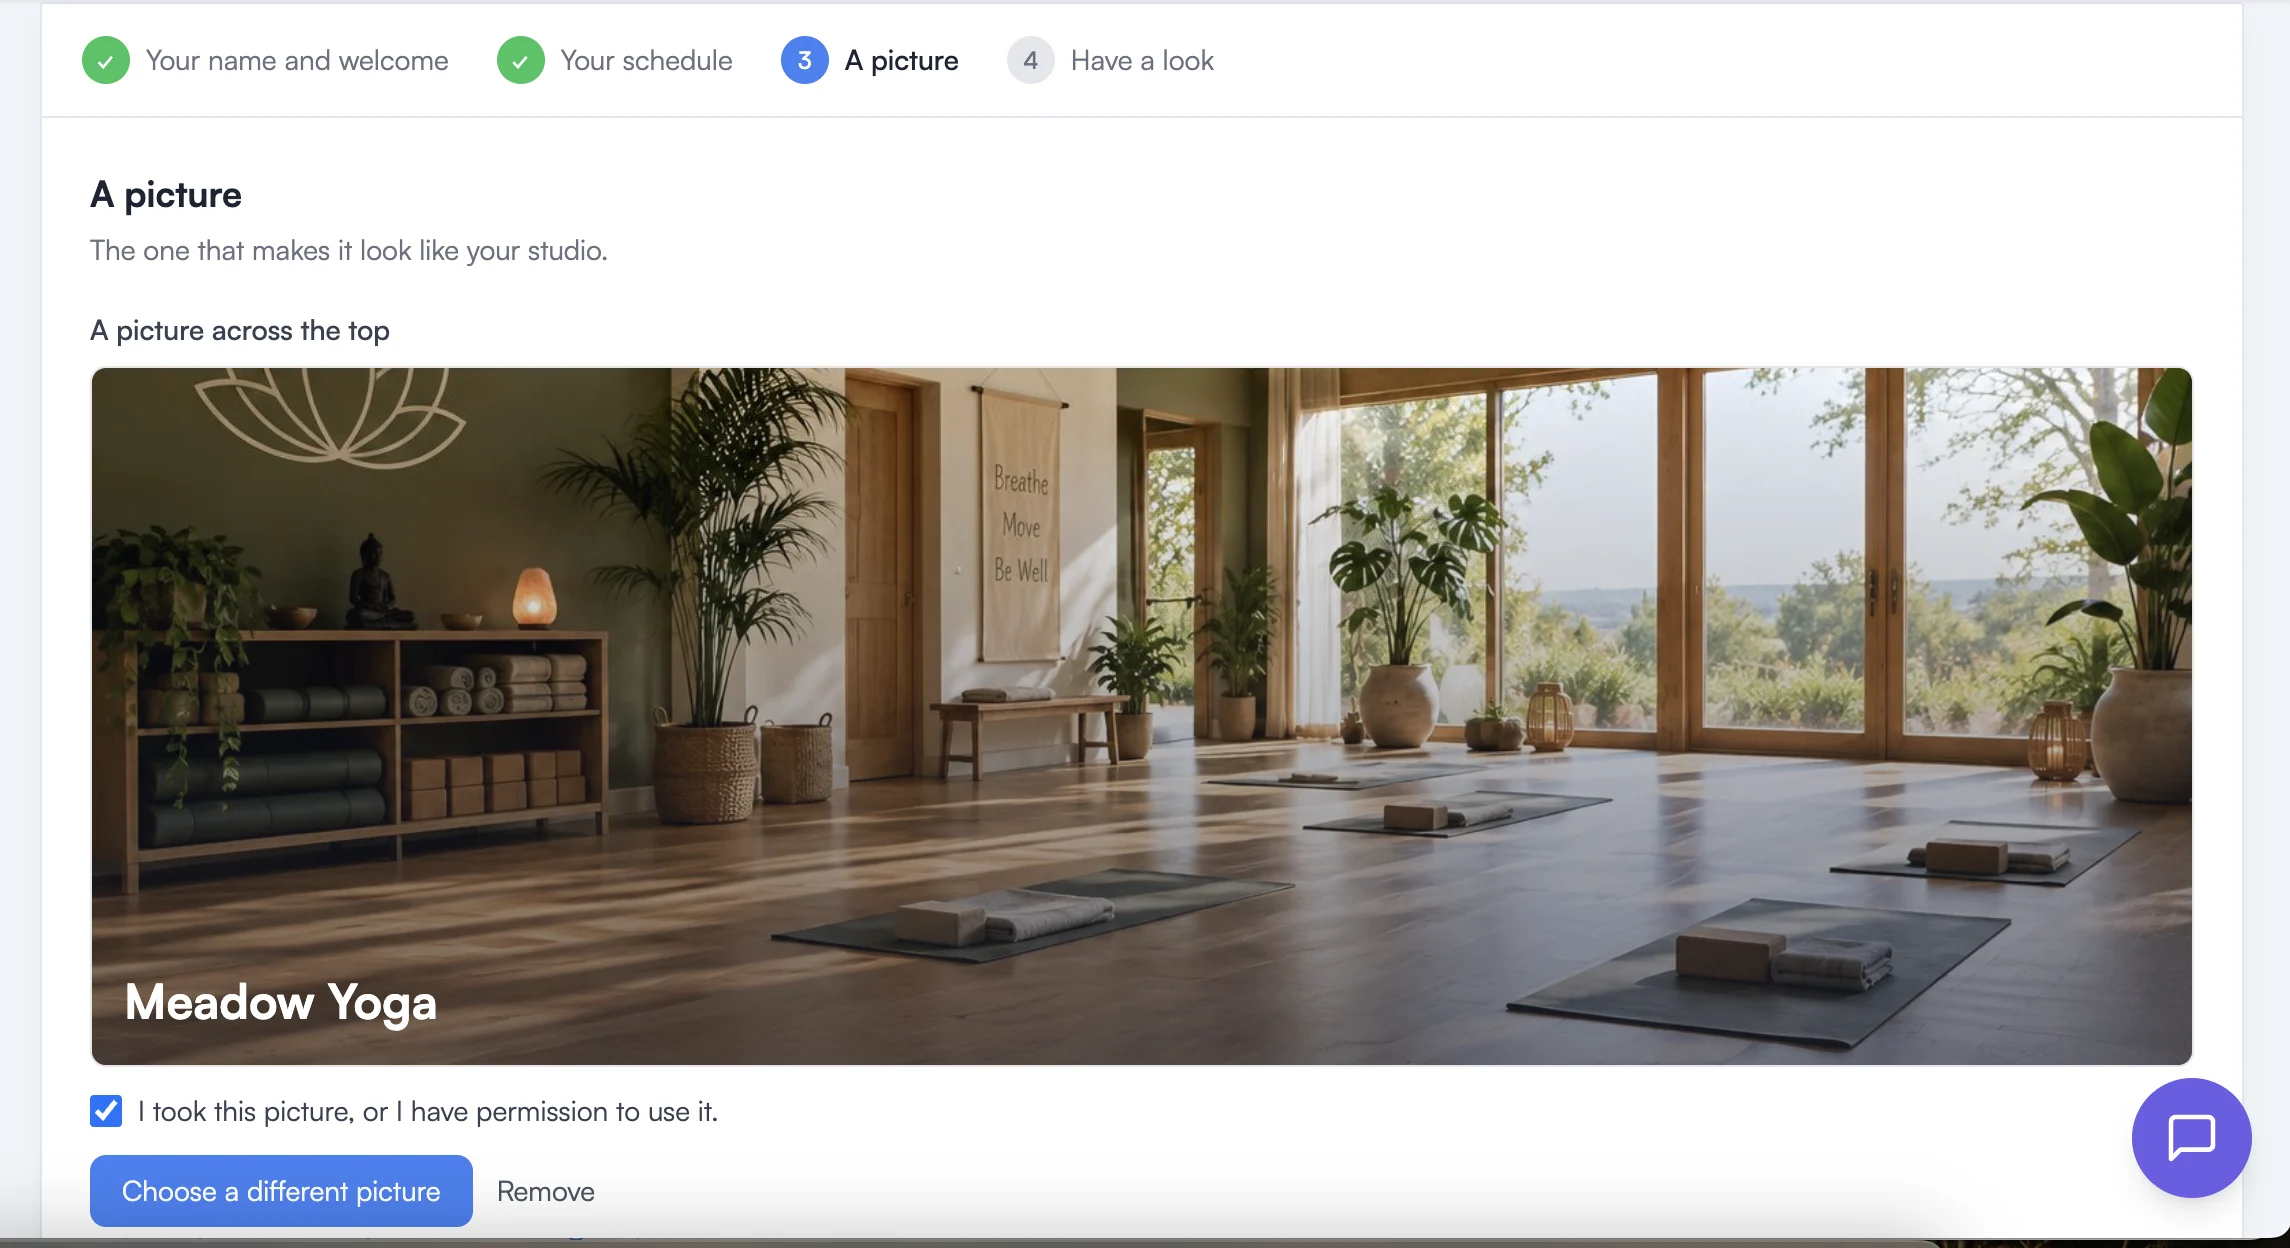
Once it is ticked, choose your picture and it appears straight away.
Which part shows, and in what colour
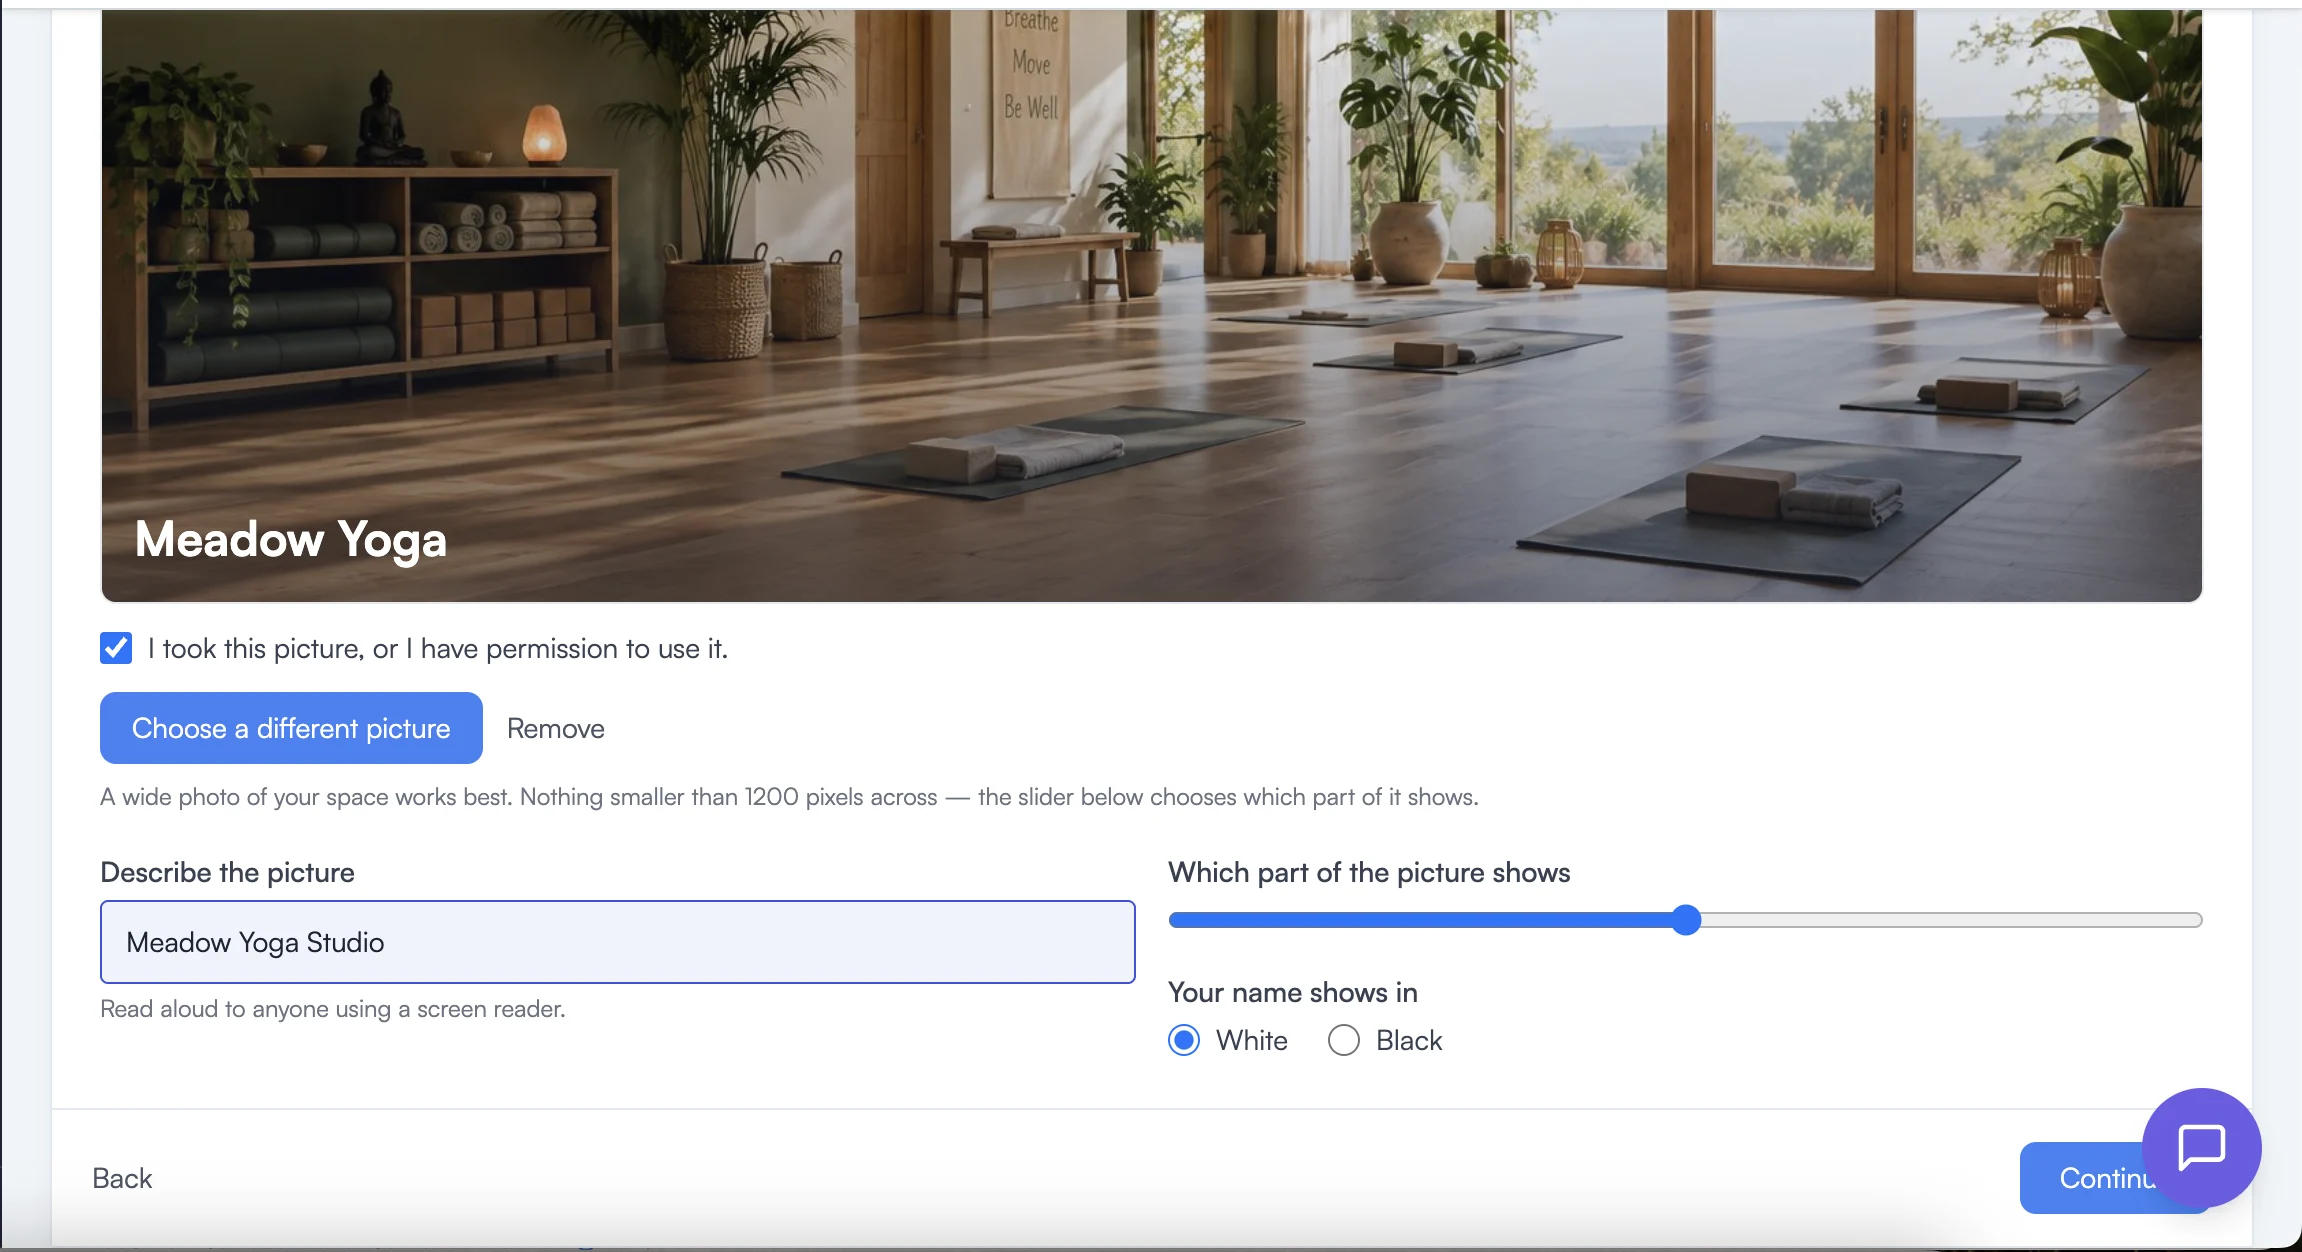
Which part of the picture shows slides the photograph up and down inside the band. Move it until the part that matters is visible.
Your name shows in switches your studio name between white and black. Check it against your own photograph: a name in white over a pale sky disappears, and so does black over a dark floor.
Describing the picture
Describe the picture is read aloud to anyone using a screen reader, and it is required before you can publish.
A sentence is enough. Say what is in the photograph, not what it is for: “A bright studio with mats laid out and windows onto the garden” rather than “Our studio picture”.
Changing it later
You can swap the photograph, move the slider, change the colour or rewrite the description at any time from the Landing page screen. Saving puts the change live.