Before you start
Go to Landing page in the menu and choose Enable Landing Page Now. Nothing is public until you publish at the end, however much you fill in, and you can stop part way and come back.
Step 1: Your name and welcome
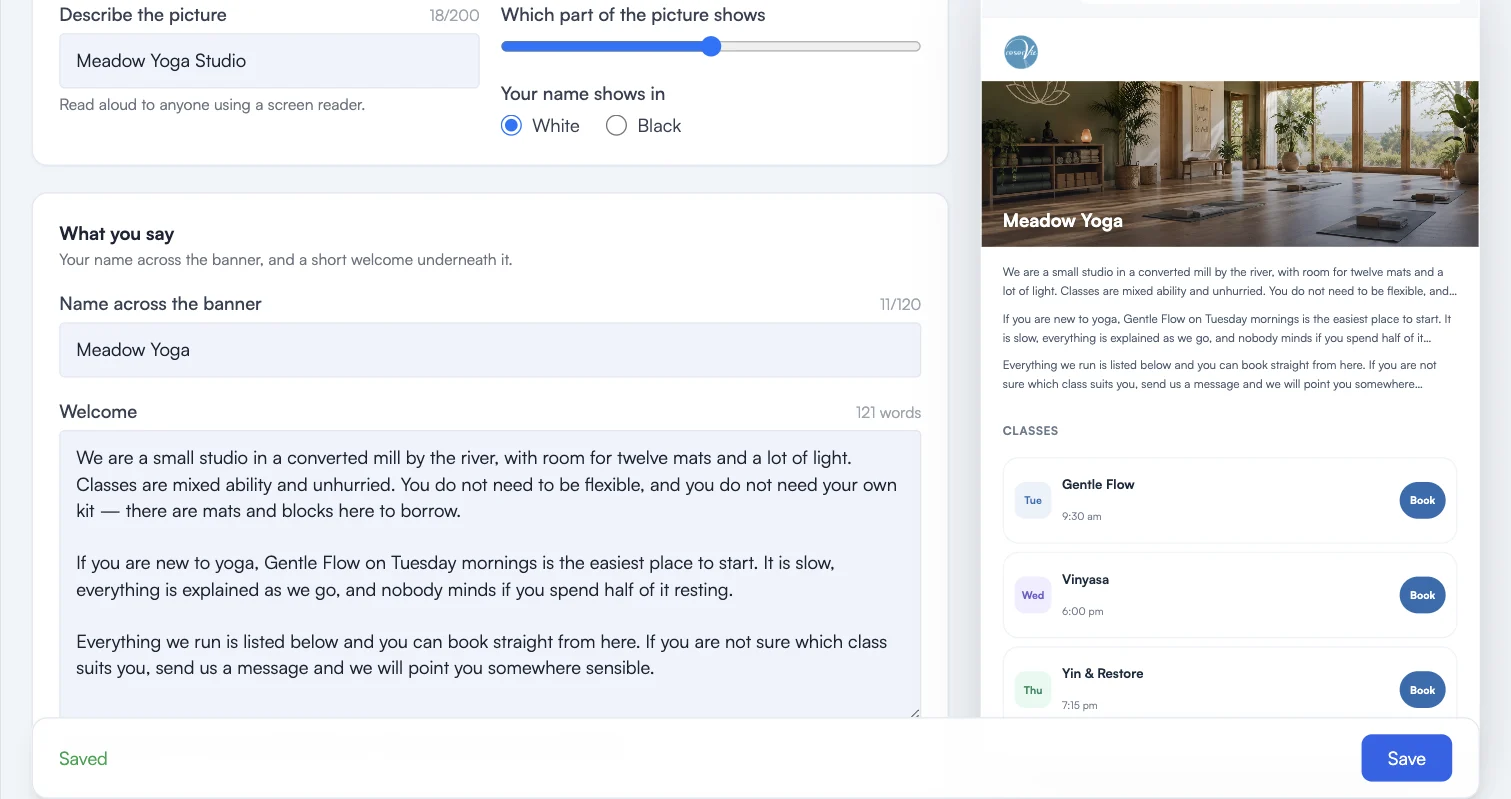
Name across the banner is usually your studio name. It becomes the page’s main heading, so write it the way you would say it.
A short welcome is the part worth spending time on. There is a lot of room here, and a word count under the box keeps track. Who you are, who the classes suit, and where a newcomer should begin. A page that says something real is the one worth people finding.
If you are stuck, write what you would say to somebody who rang up and asked whether your classes would suit them.
Step 2: Your schedule
Choose which timetable the page shows. Only one schedule appears on the page, so pick the one a newcomer should see first.
Only schedules that display classes can be chosen. A schedule showing only passes would give you an empty week.
If you do not have a schedule yet, you can create one from this step.
Step 3: A picture
One photograph, across the top, with your name over it. This step has a few parts to it and it is the one people most often get wrong, so it has a page of its own.
Step 4: Have a look
The last step shows your page as visitors will see it, next to a summary of what you have entered and the address it will use.
Read the welcome once more here. It is the easiest place to notice a sentence that made sense while you were typing it and does not now.
If something is missing, the admin tells you which of the four things it still needs: a name, a welcome, a schedule that shows classes, and a picture with a description.
When you are happy, publish. See Publishing and Taking It Offline for what happens next.
Changing it later
Everything is editable after you publish, from the same Landing page screen. Changes are live as soon as you save, and you do not go back through the four steps.